Download our FREE guide
5 Mistakes to Avoid When Shopping for a Longarm
Are you frustrated by the quilting process?
Do you struggle to finish quilts on a domestic machine?
Are you tired of paying someone else to finish your quilts?
Do you spend more time repairing your longarm than you do quilting?
Quilting Should be Rewarding, Not Frustrating.

With Gammill, you don’t have to be frustrated by the quilting process.
We provide you with the best equipment, education, training, and support so you won’t have to sacrifice your creativity or pay someone else to finish your quilt for you.
A Longarm Quilting Machine for Every Quilter.

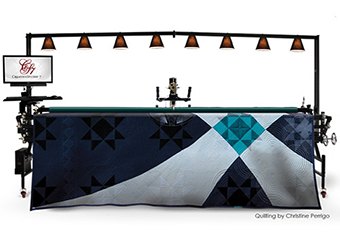
Vision 2.0
Hand-Guided Quilting
Complete System Starting at $14,999*
Statler
Advanced Computerization
Complete System Starting at $42,999*
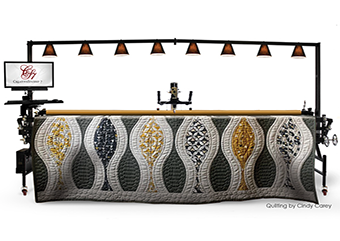
Statler Ascend
Upgraded Quilting Experience
Complete System Starting at $48,999*
*All-Inclusive Pricing; Delivery, Installation, & New Owner Training for residents of the lower 48 states
Three Steps to Becoming a Confident Quilter

Join the Gammill Family
Learn more about the options available to you as you walk through our system to build and price your machine.

Receive Training and Support
Find technical support and resources, maintenance videos and more in our Gammill owners portal.

Be a Confident Quilter
As part of the Gammill family, further resources are readily available including ongoing education opportunities and connection to a community of quilters.
I still have questions…
We get it! This is a big decision.
We want to help you find the best machine for you.
Fill out the short form below and our team will help answer any question you may have.
Connect with Community
Sign Up for Updates
Looking for inspiration? Receive new releases and the latest in quilting education straight to your inbox. Join a passionate quilting community and stay inspired. Don’t miss out on this opportunity to ignite your creativity. Sign up today!